How to Tie a Knot That Wont Come Undone: The Ultimate Guide for Bracelet Makers
Introduction
Creating stunning strand bracelets requires more than just selecting the right beads and strings; mastering knot tying is crucial. A secure knot ensures that your bracelet stays intact, preserving its elegance and functionality. Whether you're a novice or an experienced crafter, this guide will give you the techniques you need to tie knots that won't come undone. Say goodbye to knot failures and hello to reliable, beautiful creations.
Understanding Knot Basics
Before diving into the knot-tying techniques, it's essential to grasp the fundamentals. Different knots serve different purposes, and choosing the right one is vital for the durability of your bracelet.
* Square Knot: This simple and widely used knot is known for its strength and ease of tying.
* Double Overhand: This knot is excellent for cords, providing a secure grip that withstands tension.
* Surgeon's Knot: This knot provides extra security, perfect for dealing with slippery materials.
Understanding these different knots will help you select the best fit for your bracelet’s design and material. With the basics in mind, we can now transition into gathering the materials and tools you’ll need.
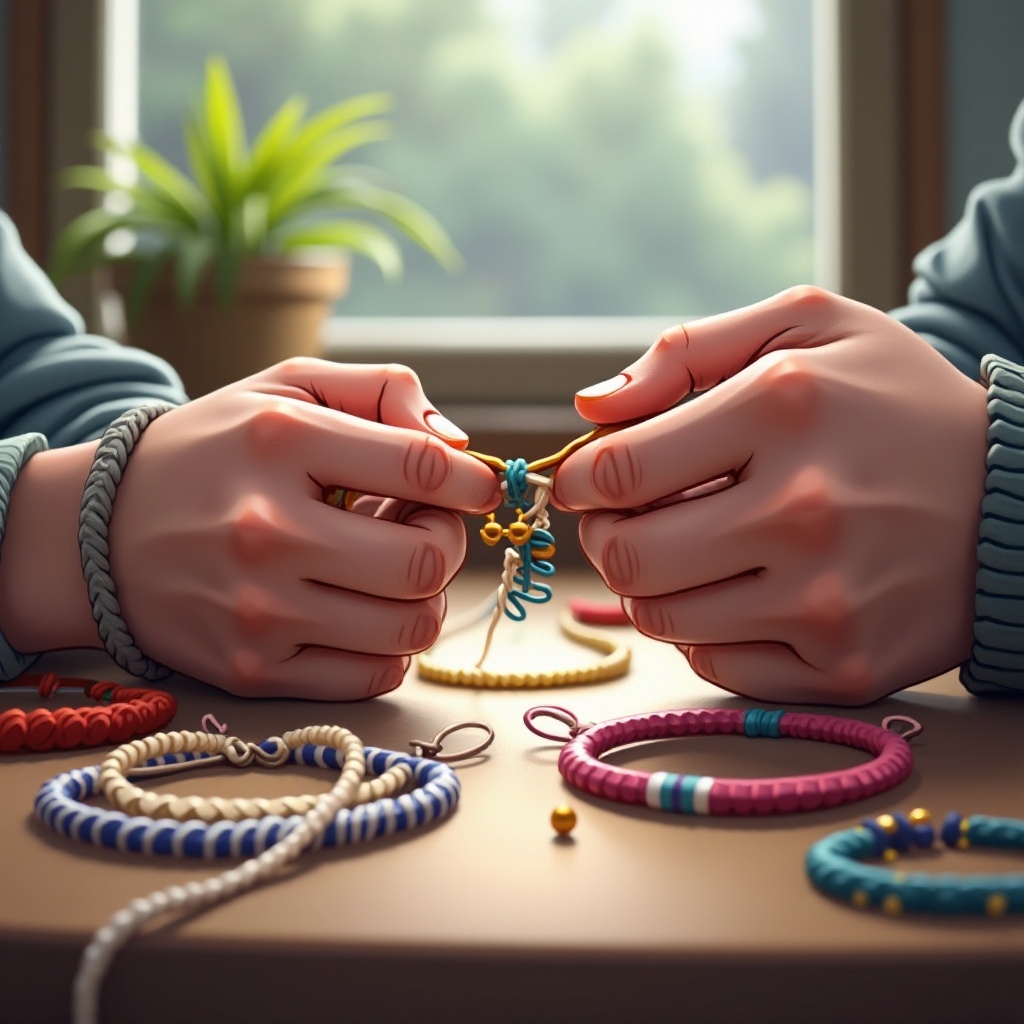
Materials and Tools Needed
Choosing the right materials and tools is crucial for successful knot tying. The type of string or cord can significantly affect the final outcome.
- Cord and String Options:
- Nylon Cord: Ideal for most bracelets due to its strength and durability.
- Leather Cord: Offers a rustic, textured look perfect for casual designs.
- Silk Thread: Provides a luxurious finish but requires careful handling for knot security.
- Tools for Precision:
- Scissors: Sharp blades for clean cuts.
- Tweezers: Assist in manipulating cords for intricate knotting.
- Bead Board: Keeps your design organized and stable.
Equipped with the right tools and materials, you're ready to move on to mastering the knot-tying techniques.
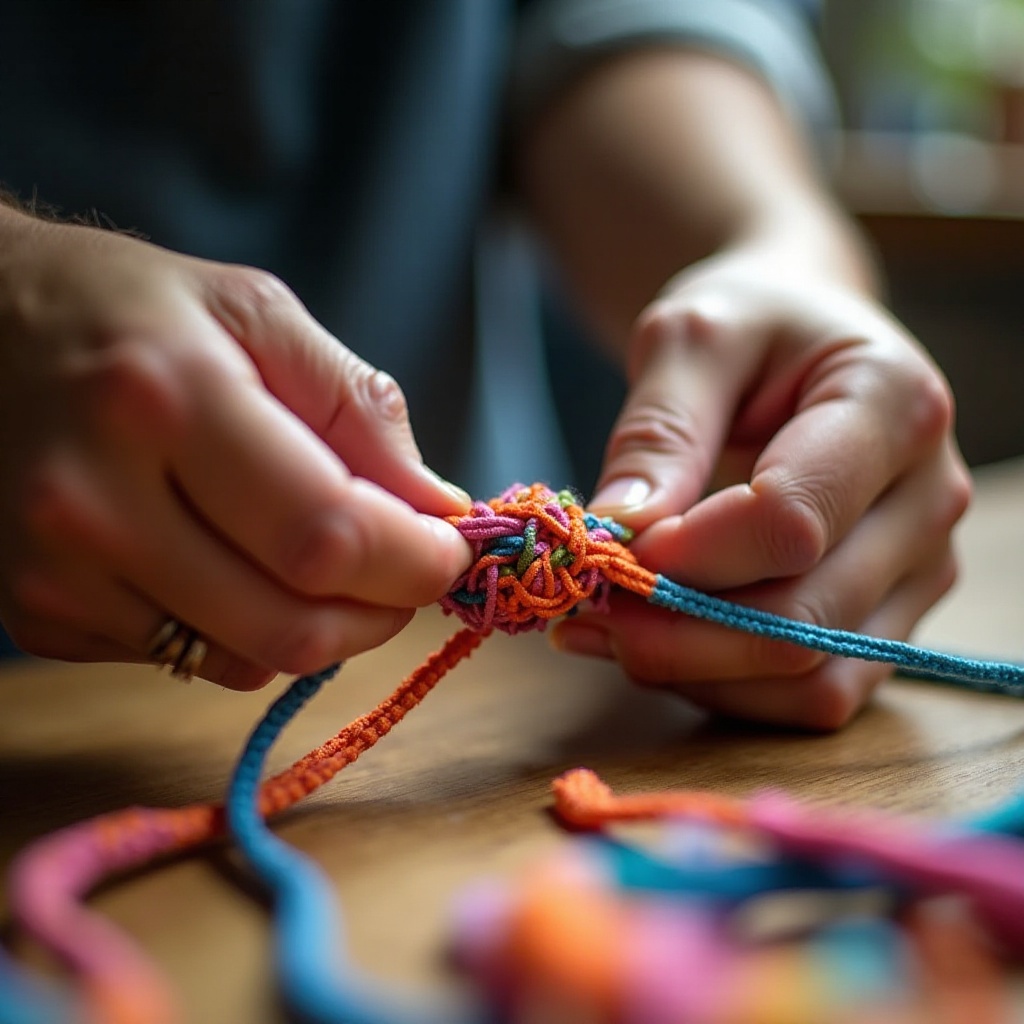
Step-by-Step Knot Tying Instructions
With a solid understanding of the basics and materials, it's time to delve into the practical knot-tying processes. Here's a detailed guide:
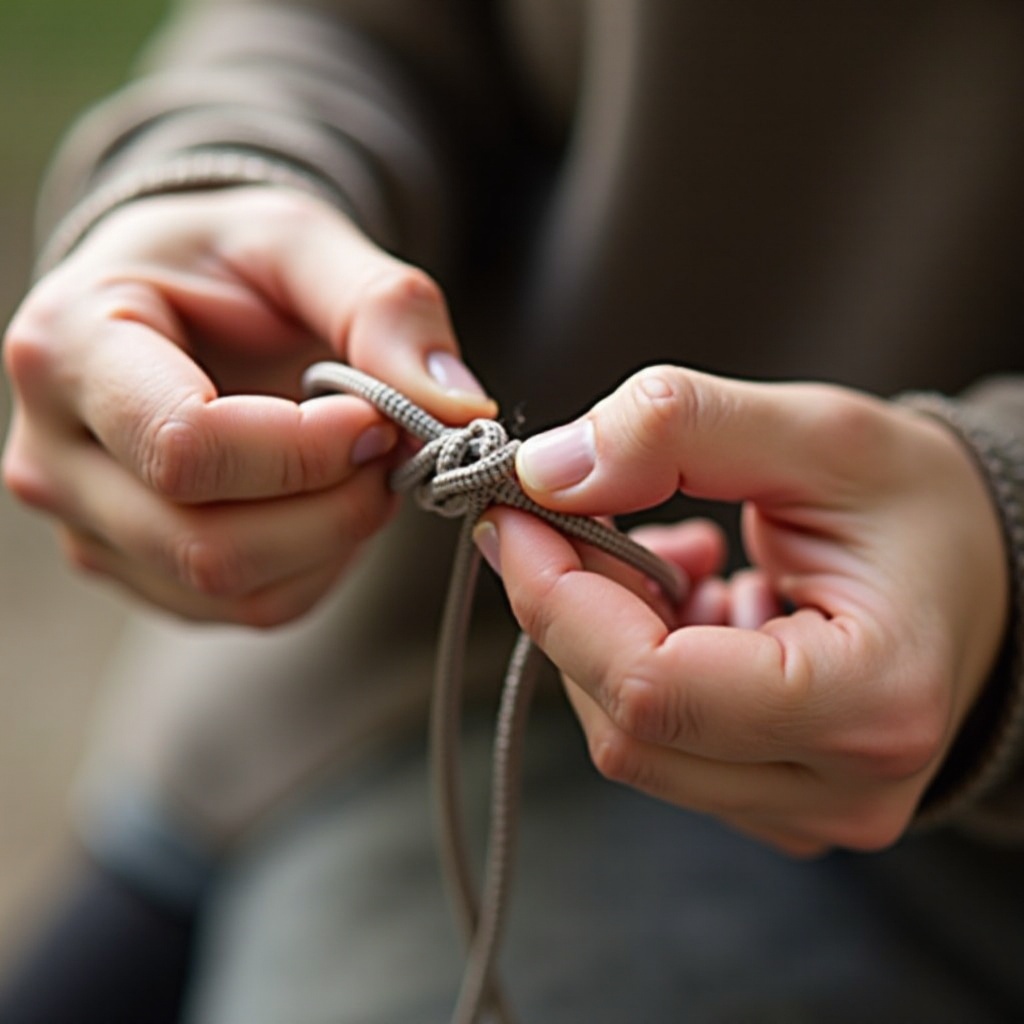
1. Tying a Secure Square Knot:
- Cross the left cord over the right and pull it under.
- Loop the right cord over the left and pull it under tightly.
- Repeat to enhance the knot's strength.
2. Double Overhand Knot Technique:
- Create a loop by crossing one end over the other.
- Wrap the end around both strands, then tuck through the loop.
- Pull ends tightly to secure it.
3. The Perfect Surgeon’s Knot:
- Begin with a basic overhand knot, passing one cord through the loop twice.
- Tighten the knot firmly.
- Reinforce with an additional overhand knot on top for extra security.
Practicing these techniques enhances your crafting skills and ensures your bracelets can withstand daily wear. However, knot durability doesn’t end with the tying process; it also requires regular care and maintenance.
Tips for Knot Durability
Securing a knot is only part of the process; maintaining its durability is crucial as well. Regular checks and adjustments are key to preserving your creation’s integrity.
- Testing Knot Strength:
- Gently tug on the ends to ensure the knot doesn't slip.
- Rotate the bracelet to check for any loosening.
- Maintaining Overall Security:
- Limit exposure to water, which can weaken some materials.
- Apply a tiny drop of clear glue to the knot for added security.
Now that your knots are secure, let's explore advanced techniques that add uniqueness and complexity to your designs.
Advanced Knotting Techniques
Once you’re comfortable with basic knots, consider exploring advanced techniques to add a unique flair to your bracelets.
- Decorative Knots:
- Lark’s Head Knot: Adds visual interest without sacrificing security.
- Chinese Knotting: Perfect for creating intricate, eye-catching designs.
- Combining Knots:
- Mix different knots within a bracelet for enhanced aesthetic and functional strength.
- Use decorative knots as focal points supported by secure knots.
Trying these advanced techniques can elevate your bracelets from simple to standout pieces. However, even seasoned crafters can make mistakes, so let’s address some common pitfalls.
Common Mistakes and How to Avoid Them
Errors happen, but they don't have to ruin your project. Awareness of common pitfalls helps in creating secure, long-lasting jewelry.
- Typical Errors:
- Insufficient tension often leads to loose knots.
- Mismatched string types and knot styles can cause complications.
- Simple Fixes:
- Always test your knots before finishing.
- Adapt your technique based on your material’s characteristics.
By acknowledging and rectifying these mistakes, your crafting process becomes smoother, and each bracelet becomes a testament to your growing expertise.
Conclusion
Tying a knot that won’t come undone requires precision and practice. With a solid understanding of knot types, the right materials, and regular practice, you can create stunning, durable bracelets. Remember to test your knots and make necessary adjustments over time. As you gain experience, your skills will flourish, producing reliable and beautiful pieces of jewelry.
Frequently Asked Questions
How do I know if my knot is secure?
Check the knot tension and gently pull it apart. If it holds without slipping, it is secure.
What is the best string material for durable knots?
Nylon cord is recommended for its strength and flexibility.
Can I use the same knots for different types of bracelets?
Yes, but the material and style of each bracelet may require slight modifications for optimal results.


