How to Make an Adjustable Friendship Bracelet
Introduction
Making friendship bracelets is a fun and meaningful way to show someone you care. Bracelets are simple to create and can be customized to fit any style or preference. The charm of friendship bracelets lies in their handmade quality and the effort behind each knot and bead. Adjustable bracelets are especially wonderful because they fit snugly on any wrist size, making them perfect gifts.Not only does adjusting a friendship bracelet provide a custom fit, but it also allows the bracelet to grow with its wearer. Let's dive into the tools and materials you'll need to get started.
Materials Needed
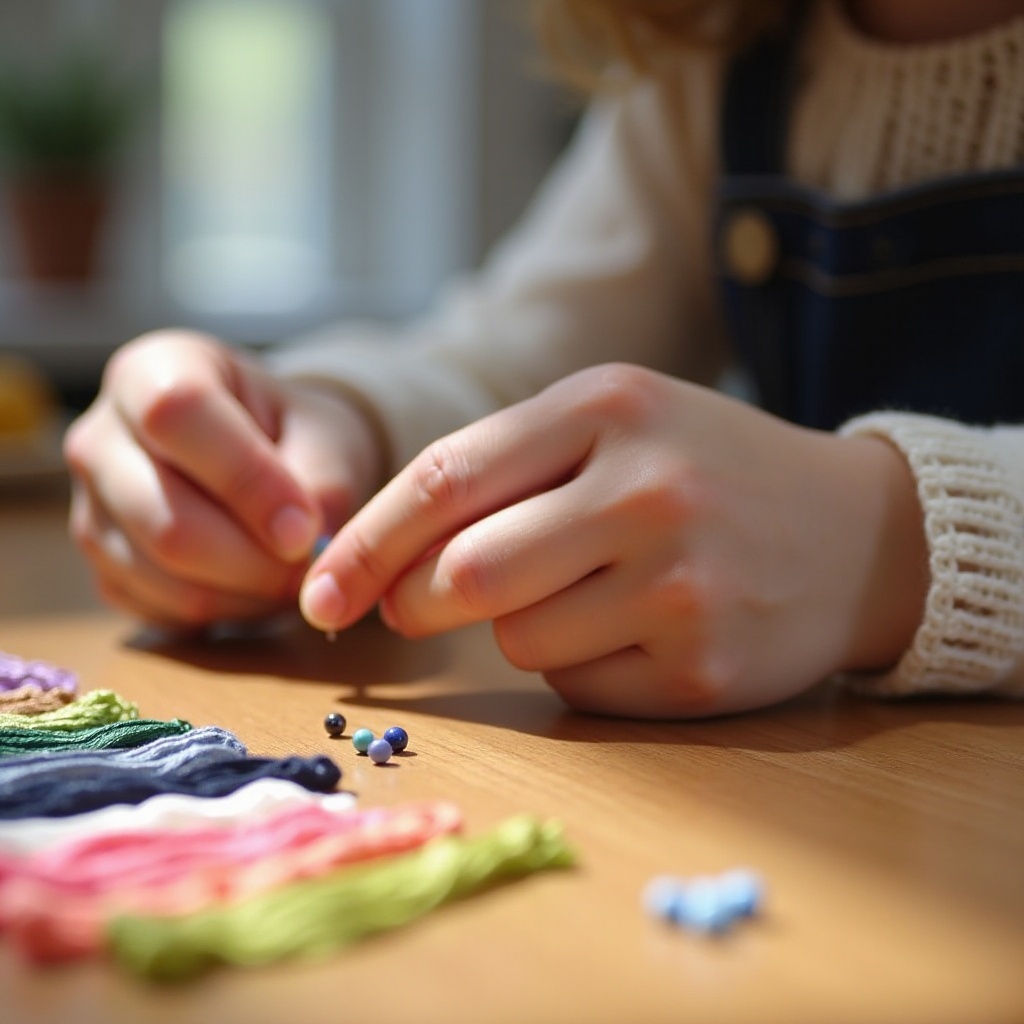
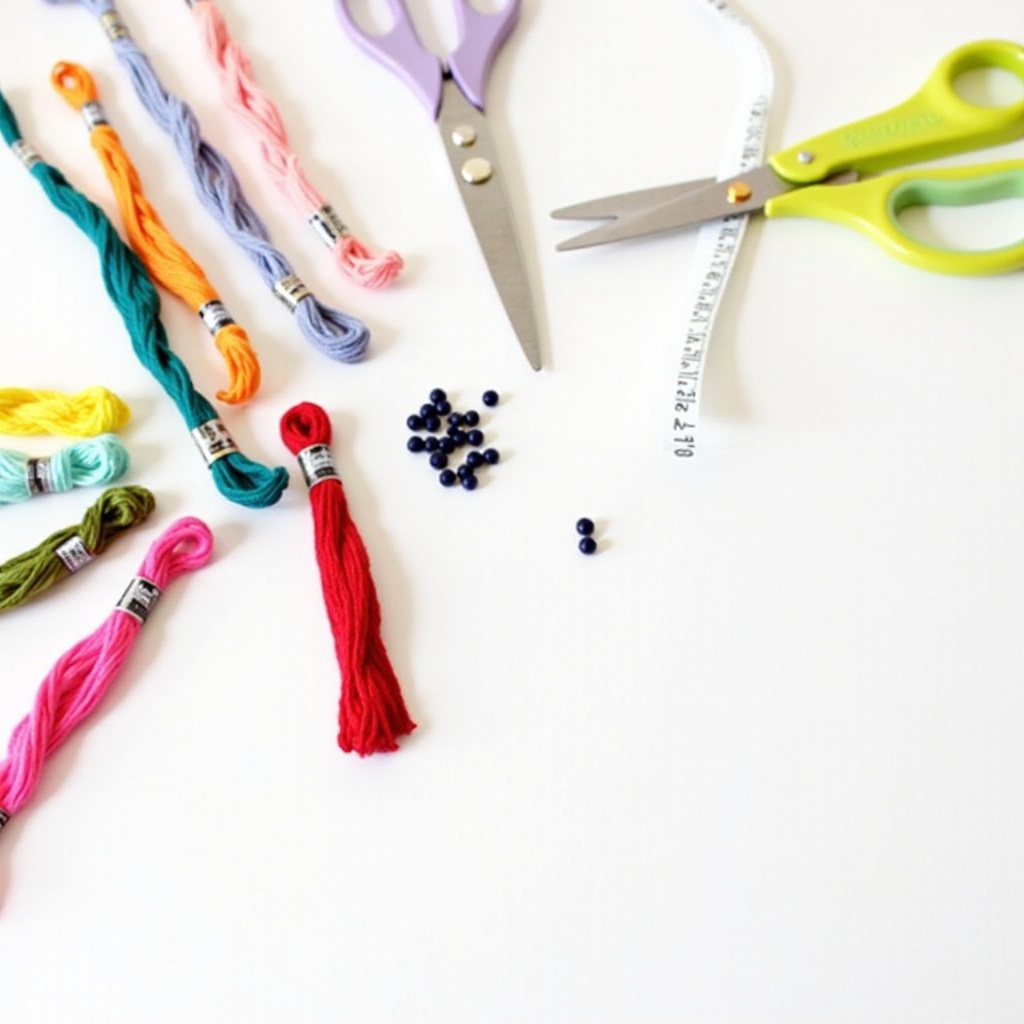
- Essential supplies: To make an adjustable friendship bracelet, you'll need embroidery floss or craft thread, scissors, and a ruler. You may also want some tape or a clip to secure your work as you go.
- Selecting the right threads and colors: Choose threads in your favorite colors or your friend's favorite colors. Opt for high-quality embroidery floss in various shades to make your bracelet vibrant and durable.Having gathered all your supplies, it's time to learn the basic braiding techniques that will form the foundation of your bracelet.
Basic Braiding Techniques
- Simple braid: The simple three-strand braid is the easiest and quickest method. Divide your threads into three equal sections and begin crossing the outer threads over the center one. Repeat the process until you reach the desired length.
- Fishtail braid: For a more intricate look, try the fishtail braid. Separate your threads into two sections and alternate crossing small strands from each side over the middle.
- Chevron braid: This pattern creates a lovely V-shape. Start by selecting two colors. On each side of the bracelet, cross the threads from the outer edges to the center, creating an inverted V-shape.Mastering these braids will allow you to create a variety of designs. Next, let’s explore how to form adjustable knots to ensure the perfect fit.
Creating Adjustable Knots
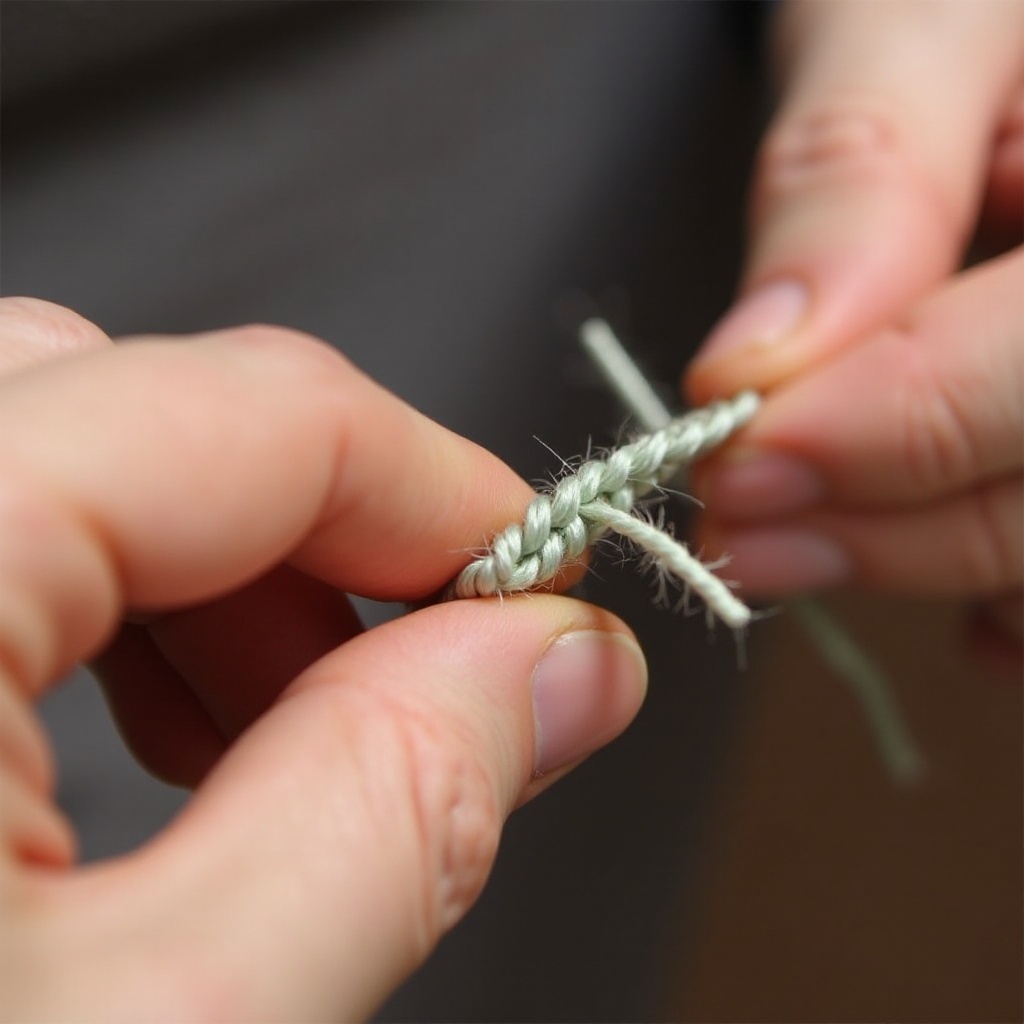
- Sliding knot overview: Sliding knots make the bracelet adjustable. This technique is not only practical but also gives the bracelet a professional finish.
- Step-by-step guide to creating a sliding knot:
- Hold the ends of your bracelet threads together.
- Form a loop with one piece of thread.
- Wrap another piece of thread around the loop multiple times.
- Continue wrapping until you’re satisfied with the number of coils.
- Tuck the end of the wrapping thread back through the loop and tighten.These adjustable knots ensure the bracelet stays secure while being easy to wear and remove. Now, let’s add some personality to your bracelet by including beads and charms.
Adding Beads and Charms
- Incorporating beads seamlessly: To incorporate beads, string them onto the threads before you start braiding, or add them in between knots. This adds a touch of sparkle and can help personalize your bracelet.
- Making personalized charms: Create your own charms using polymer clay, metal stamps, or pre-made charms. Attach them securely to your bracelet for a unique touch.Customizing your bracelet doesn’t stop at beads and charms—there are plenty of other ways to make your bracelet truly yours.
Customizing Your Bracelet
- Color patterns: Experiment with multiple colors to create interesting patterns. Chevron designs, stripes, or alternating color sections can make your bracelet stand out.
- Length adjustments: Make sure to measure the wrist of the person who will wear the bracelet. Add a few extra inches to your thread length to ensure fit adjustments can be made effortlessly.Personalization adds sentimental value to your bracelet. Now, let's cover some useful tips and tricks to get the perfect bracelet every time.
Tips and Tricks for Perfect Bracelets
- Ensuring durability:
- Use high-quality thread to avoid fraying.
- Tighten each knot firmly but not too tightly to maintain the bracelet’s structure.
- Common mistakes to avoid: Avoid tangling your threads and missing knots, which can lead to a messy and uneven bracelet.By keeping these tips in mind, you can craft beautiful, durable, and comfortable friendship bracelets. Lastly, let's conclude our guide and answer some common questions.
Conclusion
Creating an adjustable friendship bracelet is a delightful and rewarding project. By following this guide, you’ve learned how to gather your materials, master various braiding techniques, create adjustable knots, and incorporate beads and charms. Each of these steps contributes to making a personalized and heartfelt gift that anyone can cherish.
Frequently Asked Questions
What is the best thread to use for friendship bracelets?
Embroidery floss is highly recommended because of its smooth texture, durability, and variety of colors.
How can I make sure my sliding knot doesn’t come undone?
Ensure you wrap tightly and securely tuck the end of the wrapping thread through the loop before tightening.
Can I wash my adjustable friendship bracelet?
Yes, you can hand-wash your bracelet with mild soap and water. Avoid harsh chemicals to keep the thread and beads in good condition.


