Creating Stunning Hand Chain Friendship Bracelets: Rainbow and Black & White Patterns
Introduction
Friendship bracelets have long been a symbol of companionship and affection. Creating these intricate pieces allows you to express creativity while giving a heartfelt gift to someone special. Hand chain friendship bracelets, especially those featuring vibrant rainbow and classic black & white patterns, stand out for their unique charm and visual appeal. In this guide, we will take you through the crafting process, from gathering essential tools and materials, to mastering eye-catching patterns, and finally adding personal touches to make each bracelet truly special.
Essential Tools and Materials for Friendship Bracelets
Before diving into the creation of your friendship bracelet, gather all necessary tools and materials. Proper preparation ensures a smooth crafting experience.
- Embroidery Floss: Choose high-quality floss in rainbow colors and black & white.
- Scissors: Sharp scissors are a must for clean cuts.
- Tape or Clipboard: These will help secure your bracelet while you work.
- Measuring Tape: To achieve consistent lengths for each string.
- Beads and Charms (Optional): For adding personalized touches.
- Clear Nail Polish or Glue: To secure the ends and knots of your bracelet.
Having these materials at hand will streamline your crafting process and ensure that you're ready to focus on the more creative aspects of making friendship bracelets.
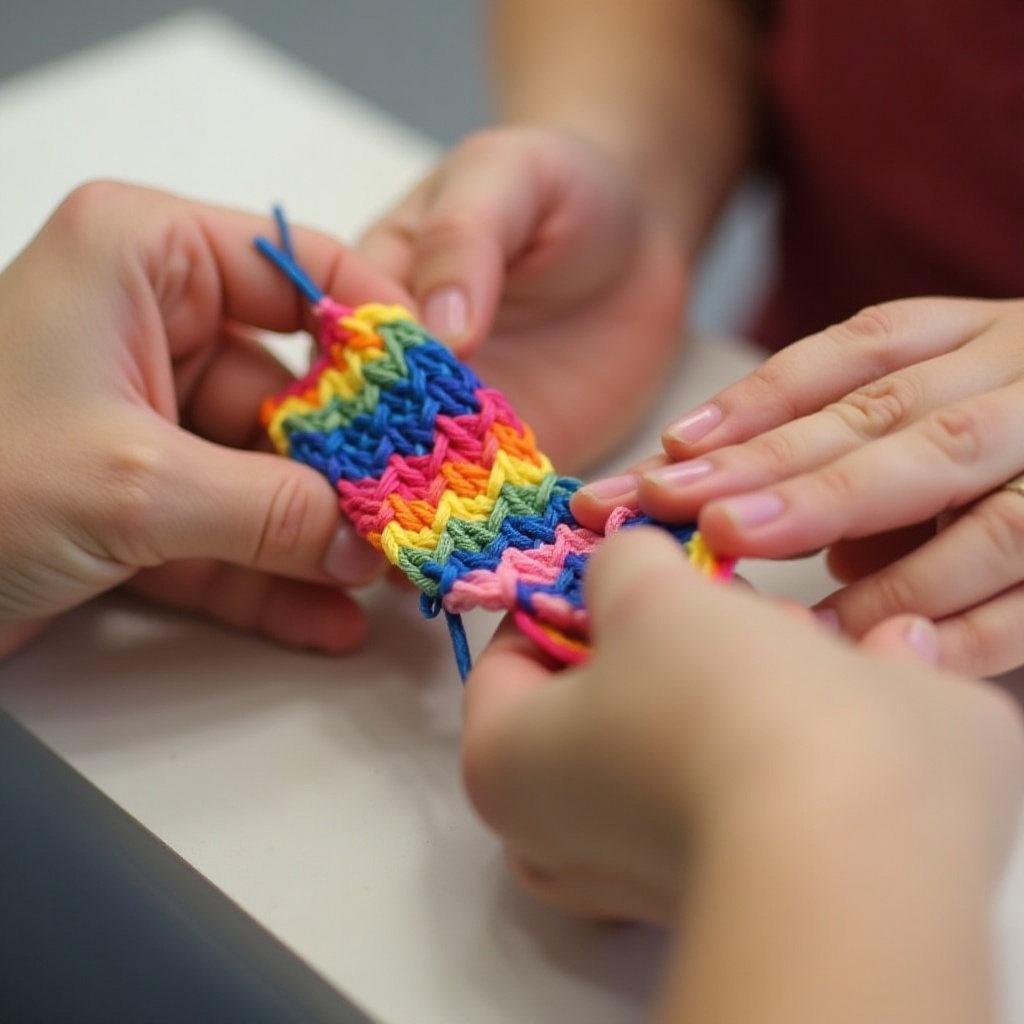
Step-by-Step Guide to Rainbow Chevron Pattern
The chevron pattern is a classic design that showcases beautiful V-shaped stripes. This guide will help you create a vibrant rainbow version of this beloved pattern.
- Cut the Floss: Measure and cut multiple strands of embroidery floss in rainbow colors, each about 60-70 inches long.
- Secure the Floss: Tie a knot at one end of your grouped strands and secure them to your working surface with tape or a clipboard.
- Create the Chevron Pattern:
- Divide strands into two halves with a mirror arrangement of colors.
- Take the outermost strand on the left, create a forward knot over the next strand, repeating until you reach the center.
- Repeat with the outermost strand from the right, using a backward knot technique, meeting in the center.
- Continue Knotting: Alternate the forward and backward knotting process to form the chevron design, ensuring the pattern aligns symmetrically.
- Finish the Bracelet: Once the desired length is reached, tie off the ends securely and apply clear nail polish or glue to prevent fraying.
Crafting a Black & White Candy Stripe Bracelet
The candy stripe pattern offers a clean, bold look that perfectly contrasts the vibrant chevron design. Here’s how to make it:
- Cut the Floss: Similar to the chevron pattern, measure and cut strands of black and white embroidery floss.
- Organize the Floss: Tie a knot to gather all the strands and secure them onto your work surface.
- Create the Candy Stripe Pattern:
- Take the outermost left strand and make forward knots over each subsequent strand until it reaches the other side.
- Continue with the next outermost left strand, maintaining the black and white sequence.
- Even Out the Strands: Repeat knotting to ensure the stripes are consistent and the bracelet lays flat.
- Secure and Trim: Once finished, secure the end and trim any excess floss, using clear nail polish or glue to seal.
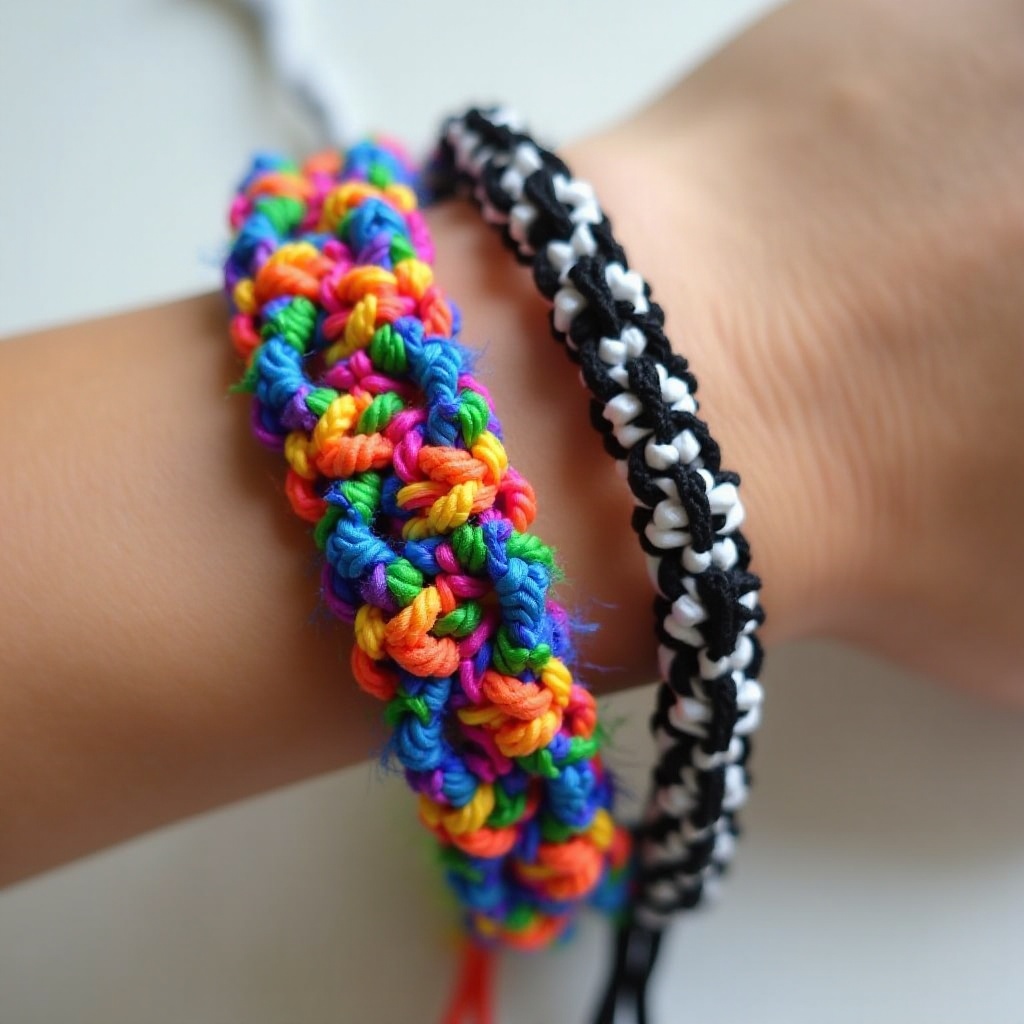
The simple elegance of the black & white candy stripe contrasts beautifully with the colorful rainbow chevron, creating a striking pair of bracelets.
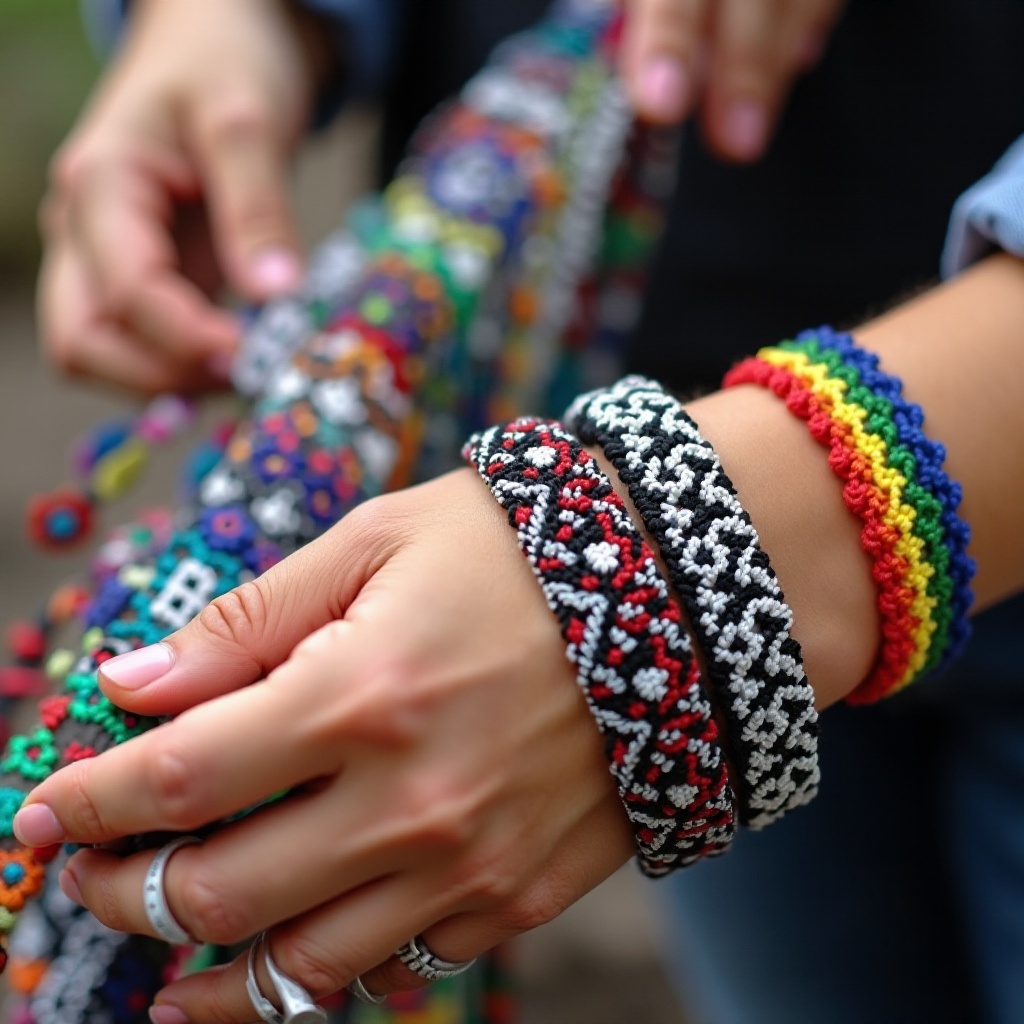
Innovative Patterns: Combining Rainbow and Black & White
For those looking to add a bit of flair to their creations, combining rainbow and black & white patterns can produce unique and visually appealing designs.
- Cut and Organize Floss: Measure and cut strands in both color schemes.
- Craft the Mixed Patterns:
- Alternate sections of rainbow and black & white candy stripes.
- You can also combine sections of chevron with stripes for a hybrid pattern.
- Use Analytical Approach: Plan the pattern segments carefully to ensure a balanced distribution of color and monochrome.
- Add Beads and Charms: For additional personalization, add meaningful beads or charms between pattern transitions.
Experimenting with these mixed patterns allows you to create bracelets that stand out and are truly one-of-a-kind.
Finishing Touches and Personalization
Personalizing your friendship bracelets ensures they are as unique as your friendships. Here are a few ways to add finishing touches:
- Add Charms: Small charms, initials, or beads can be threaded onto the bracelet for a unique touch.
- Adjustable Fastenings: Consider using sliding knots or clasps to make your bracelets adjustable.
- Decorative Knots: Finish the ends with decorative knots or create a braided end for a polished look.
These finishing touches will elevate the overall look and feel of your bracelets, making them more special and meaningful.
Conclusion
Creating hand chain friendship bracelets using rainbow and black & white patterns is a rewarding and enjoyable craft. These bracelets not only symbolize friendship but also allow you to express creativity and thoughtfulness in a tangible form. With the detailed step-by-step guides provided, you can craft stunning pieces that are sure to be cherished by your friends and loved ones. Dive into the world of pattern making, let your creativity soar, and enjoy the satisfaction that comes with mastering these beautiful designs.
Frequently Asked Questions
What materials do I need to make friendship bracelets?
To make friendship bracelets, you'll need embroidery floss, sharp scissors, tape or a clipboard, a measuring tape, optional beads and charms, and clear nail polish or glue for securing ends.
How long does it take to complete a hand chain bracelet?
Completing a hand chain bracelet can take anywhere from 1 to 3 hours depending on the complexity of the pattern and your skill level.
How can I ensure my knots are secure and even?
Ensure your knots are secure and even by practicing the knotting techniques regularly, pulling gently but firmly to avoid tightening too much, and using a consistent tension throughout the process.


